Users of locators have inherently high purchase intent. These users are commonly moments away from calling or visiting a business, and actions within a store locator are therefore essential to understand.
MetaLocator provides myriad insights regarding user actions as part of our embedded analytics. There are literally hundreds of available reports in the provided dashboard. This article highlights the essential metrics that all businesses should understand regarding user behavior within their locator. MetaLocator users can access all of these statistics from the “Analytics” tab in the MetaLocator control panel. This article is not going to cover the most basic of analytics including total visitors and hits, instead it will focus on analytics that are especially important for store locators.
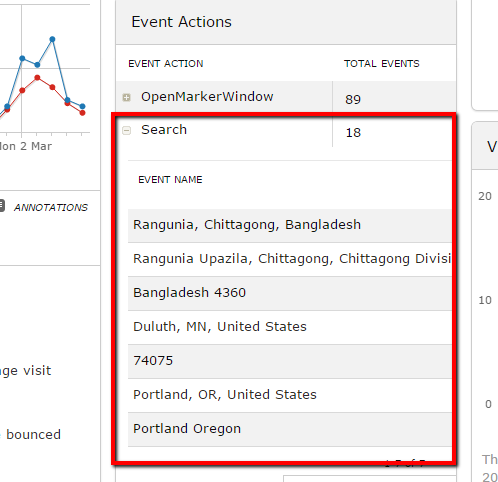
- User Searches. This measurement falls into the bread-and-butter category of locator analytics. The Event Actions panel shows each search term exactly as it was entered by end users. Postal codes, and address strings that users are searching for can be found in this panel as shown below.
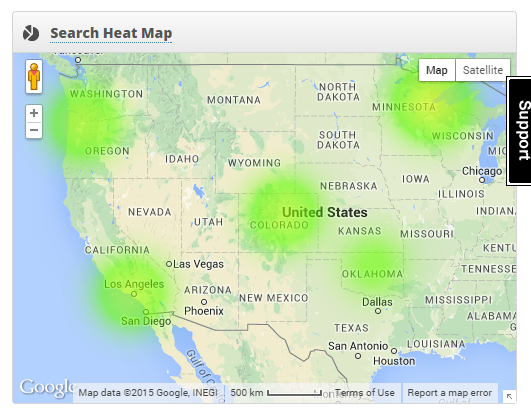
Not only should you see the content of the search term, but you should also be able to visualize the physical location of that search term. Our heat map translates these words into visible locations as shown below. This can highlight supply gaps and demand centers for your locations.
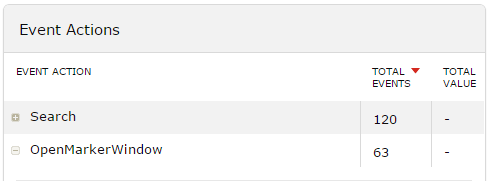
- Event Actions & Conversion Tracking. This is arguably the most important of the measurements that can be analyzed in a locator. You should be able to see which locations were interacted with in any way and what action was taken. Did the user click on the location for details? Did they click “Get Directions”? Did they click to call? Did they click a link in the record or fill out a form? All of these record-specific actions are summarized in MetaLocator under the “Event” Widgets. Within each Action you can expand the Action Name to view details about each record that was included in that action and the user that took the action. The screenshot below shows 63 “Open Marker Window” events where the user clicked to show details about the location on the map. Drill down further to see the actual location and user detail.
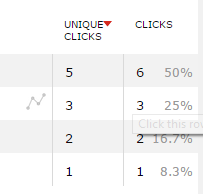
- Outbound Links. Did your user click an outbound link to your location’s Website? This essential information shows where your users are exiting your locator, and possibly the number of referrals you are providing for the locations in your database. Click Outlinks to see the full report.
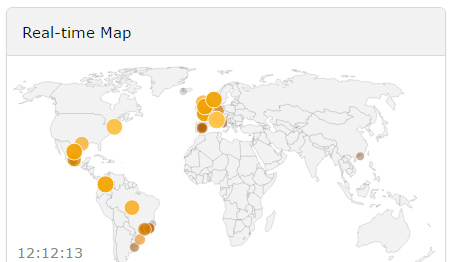
- Real-time Users. How busy is your locator right now, and where are those users coming from? Beyond just number of visits and duration, real time analytics can show you the “heartbeat” of the traffic coming to your locator. This is especially useful in combination with a campaign launch. Here you can watch the immediate impact of a blog post, Adwords spend or social media call to action as it plays out.
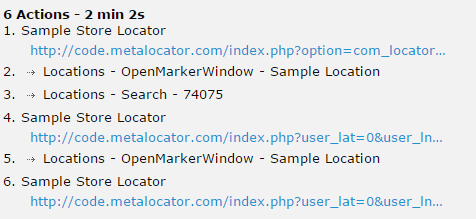
- Click-stream Data. Watching every step of a user’s interaction with your locator can give invaluable insight into user behavior. For each user to your locator, you can view exactly what they user did, when they did it and in what order. Here we see a user clicking a “Sample Location”, performing a search for 74075, viewing some more details and then moving on.
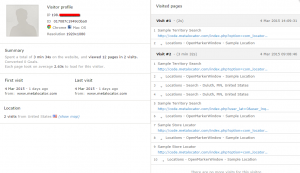
- User Details. Following up on the above Click-stream data, you also should be able to find a complete picture of a single user’s total interaction summary with your locator. MetaLocator provides a total picture of each visit and the actions taken during the visit.
Click for a larger image - Google Analytics Integration. Of course, your locator is but a single aspect of your Website. Looking just at that silo of activity can leave gaps in understanding of overall user behavior. MetaLocator also integrates with your existing Google Analytics. This approach lets you view incredibly detailed user behavior in the context of your overall Web site’s usage statistics. Location searches do not happen in a bubble. To be an informed site owner, you need to know what led them to that search, whether they found what they were looking for and what their next steps were. Anything less and you’re only seeing a small window of your user’s activity. Add your UA-code under your Interface settings as described here.
