Building a MetaLocator interface can be a daunting task given the sheer number of features available. This article highlights the most common configuration tasks and their relevant Interface Settings.
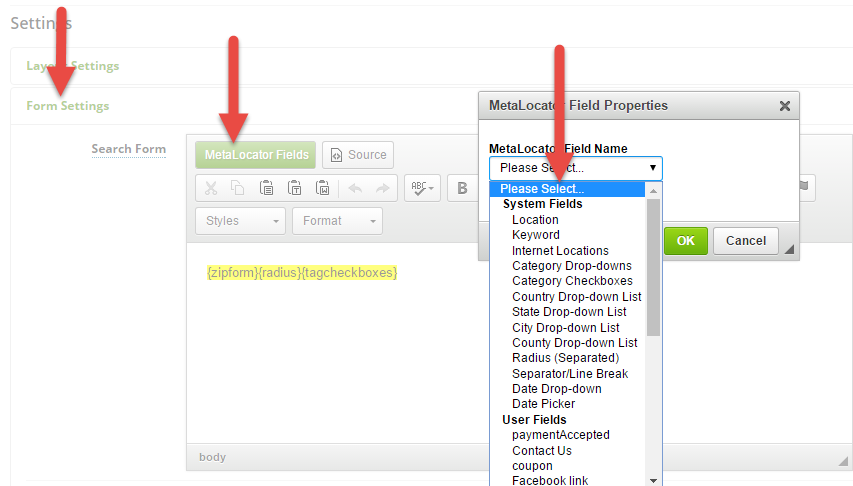
- Changing the search options: Under Form Settings > Search Form you’ll find a template that controls what fields are displayed on the search form. This option contains MetaLocator template tags that correspond to the available search options. Click the green MetaLocator Fields button in the editor toolbar for a list of available tags. Our Interface Templates come with a few basic options, but most users will want to review and change the default search options. More information on the search form can be found here.
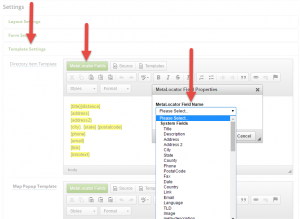
Click for larger image - Changing the fields displayed in the results: MetaLocator allows you complete control over which fields are displayed in the search results. The results are often displayed in both a map and list (directory) format. Under Template Settings you’ll find a series of templates that allow you to choose which fields are displayed in both the list and map marker popup. Additionally, these templates control the appearance of the Details page which shows a single location. To add a field to the list of search results, add it to the Directory Item Template by clicking the MetaLocator Fields button in the toolbar as shown below. More information on the MetaLocator Templates can be found here.
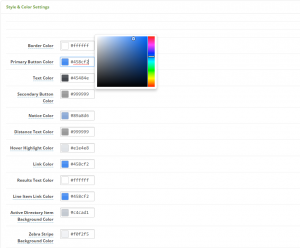
Click for larger image - Changing the colors: You can change the MetaLocator styles by using the point-and-click color pickers found under Style & Color Settings. Use these options to match your existing Website colors. The Interface templates use the “Primary Button Color” as the overall primary color of the Interface. We normally walk through each color setting and change it to match our customer’s primary Website color. Try it for yourself as shown below. More information on the Style & Color topics can be found here.
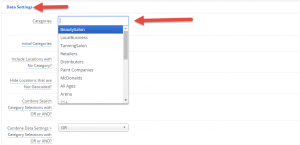
Click for larger image - Filtering the data displayed on a given Interface: Many of our customers create multiple interfaces to display different types of data, but get stuck on filtering data by Interface. This allows you to create, for example, one interface for sales persons and another for retail locations. There are multiple ways to filter data displayed on your Interface, but the most common way is to use the MetaLocator Categories to filter your data. Under Data Settings > Categories is an option that allows you to select which categories are displayed on the Interface. First, categorize your data, then use this option to limit this interface to just certain categories as shown below.
Click for larger image - Changing Language items: Want “Submit” to say “Search”, or “Details” to “More Information”? Follow this video tutorial to modify the default language file and associate it with your Interface under Language & Internationalization Settings > Language Code as shown below:
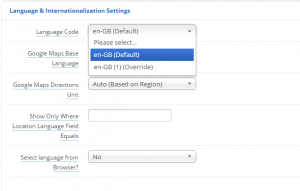
Click for larger image
If you understand the five items above you are certainly ahead of the pack in understanding how to get the most out of MetaLocator. Search our documentation or contact the helpdesk for direct assistance if there are other items you need help with.
